Pin Line Twin Fin – A truly unique wooden surfboard

11 . 05 . 22

Mike came to the workshop a couple of years ago with his eldest son to make their own wooden surfboards, so thought it was only fair to bring his youngest son along last summer to do the same. You can read and see more of their week with us here

But….what made this surfboard even more special was the unique idea that Mike had for the wood layup on it. 

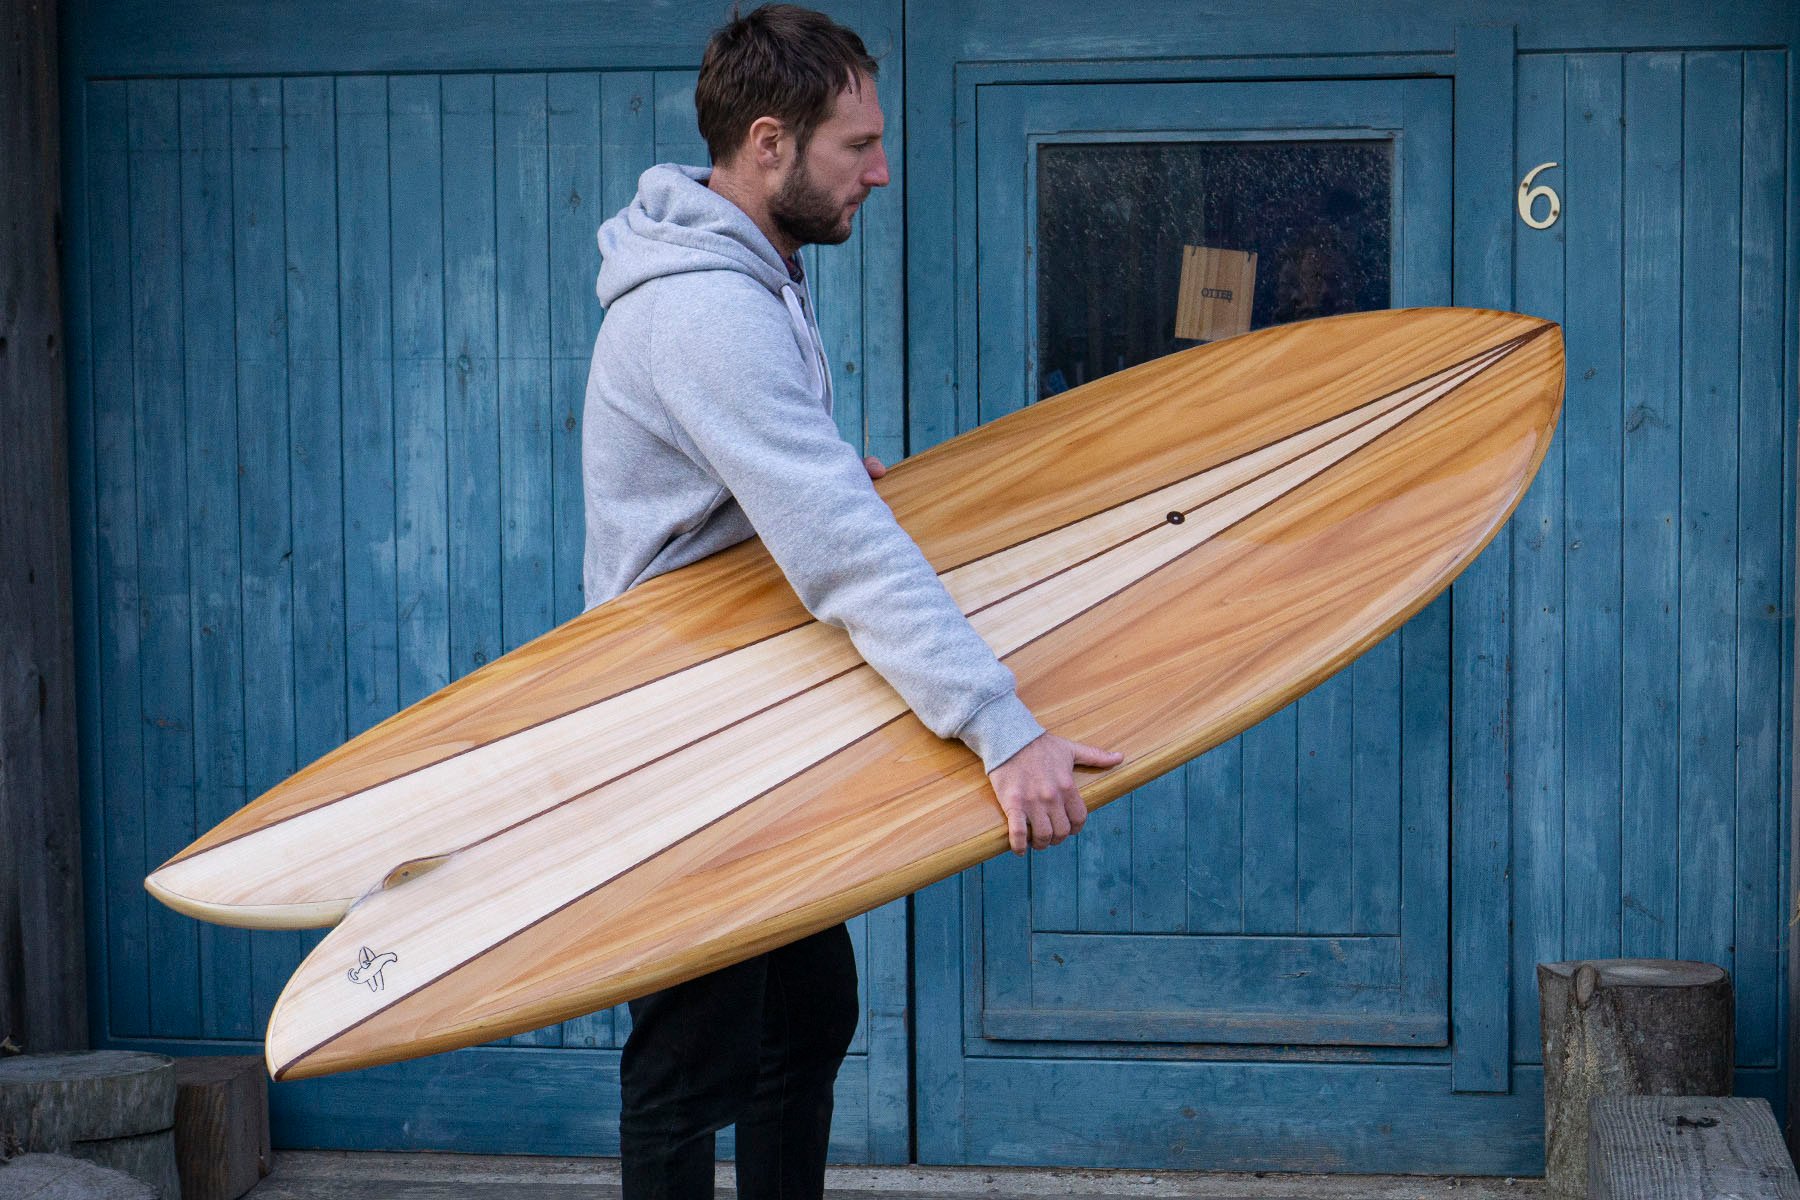
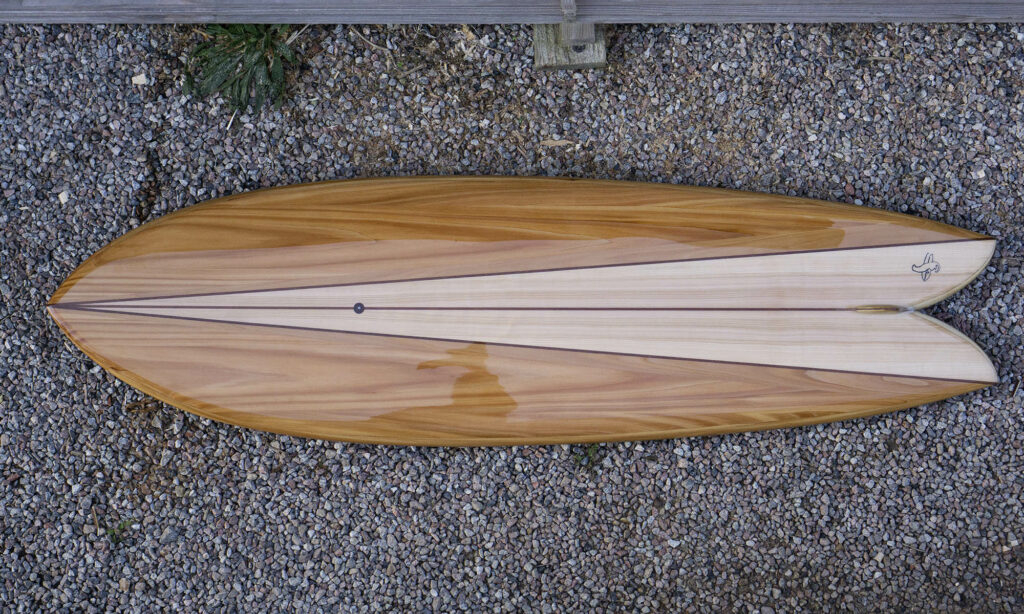
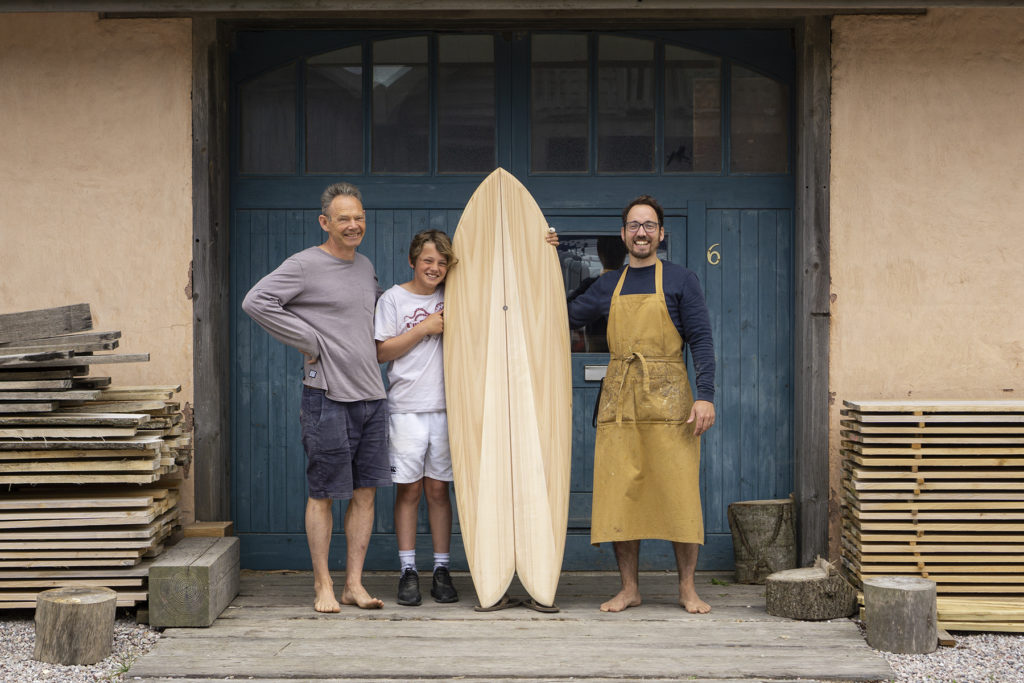
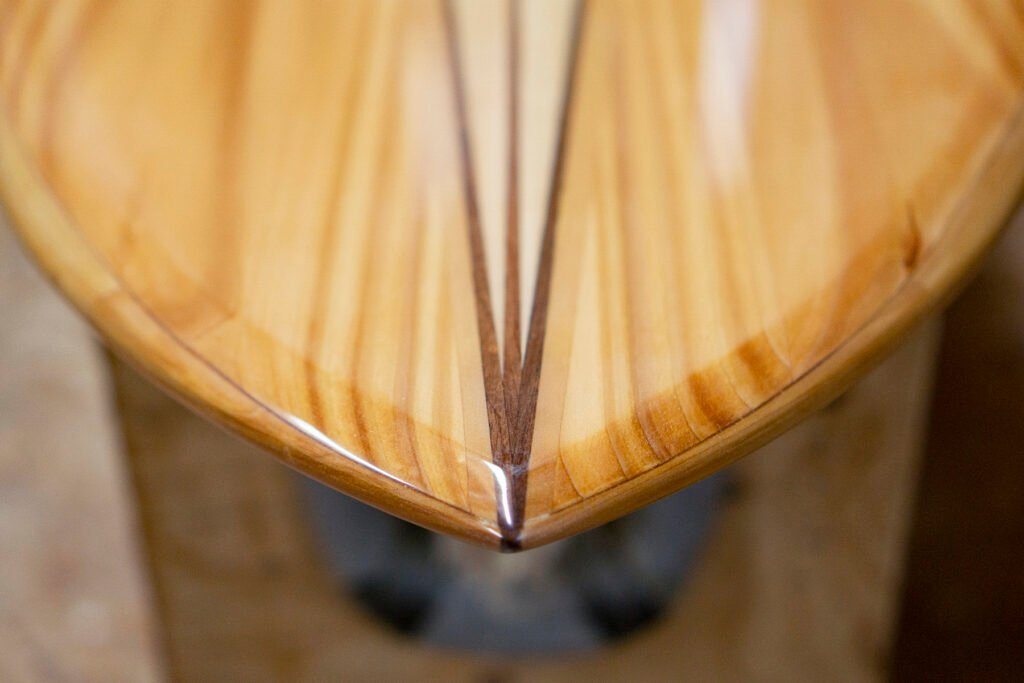
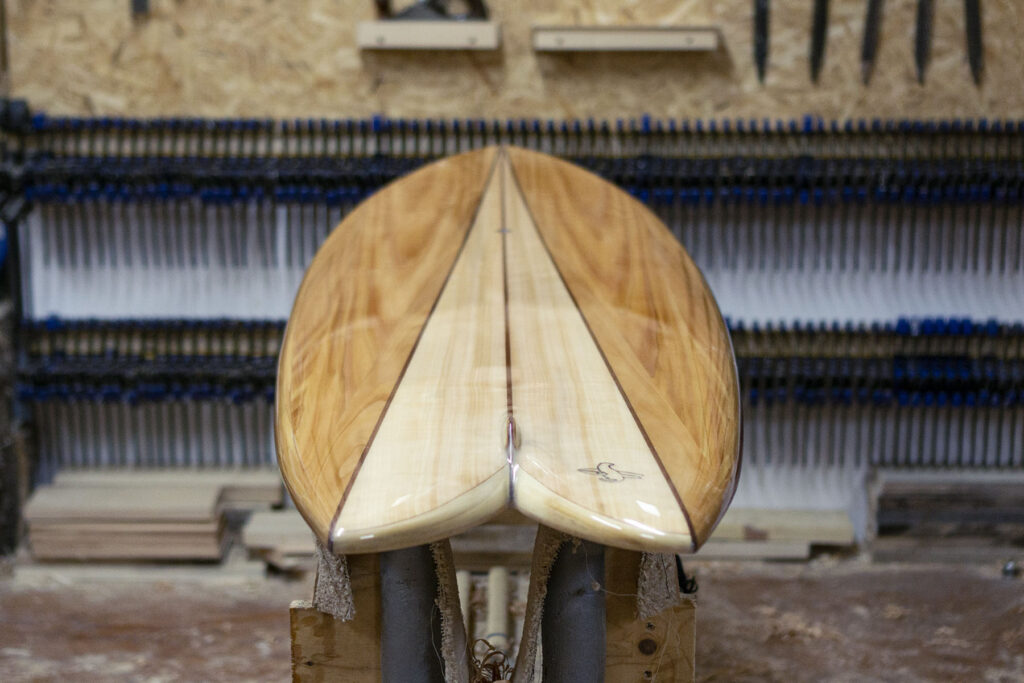
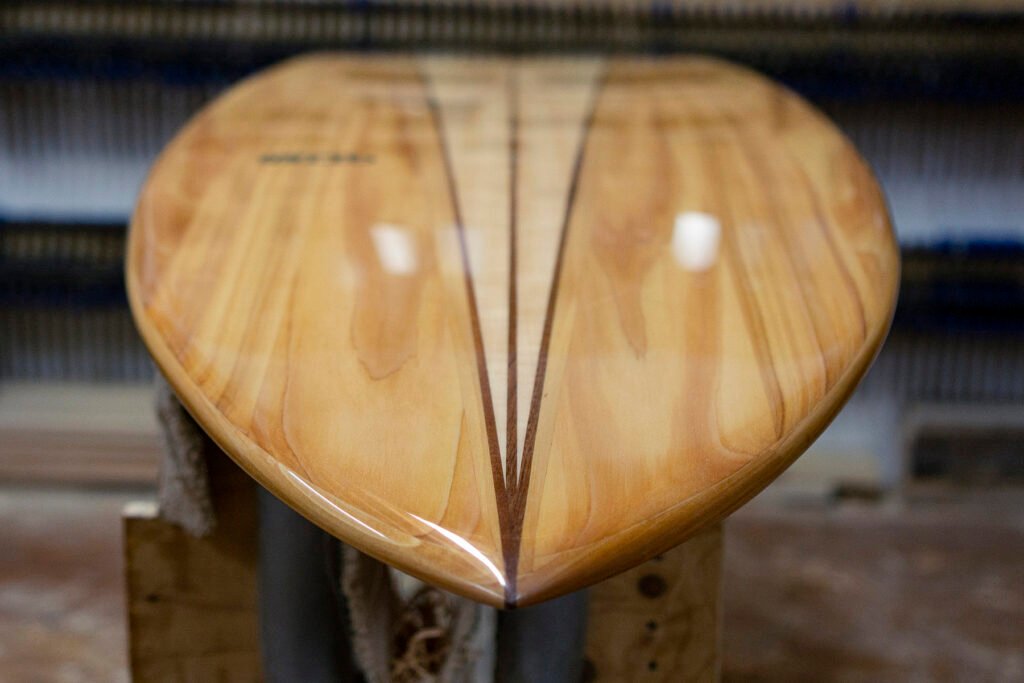
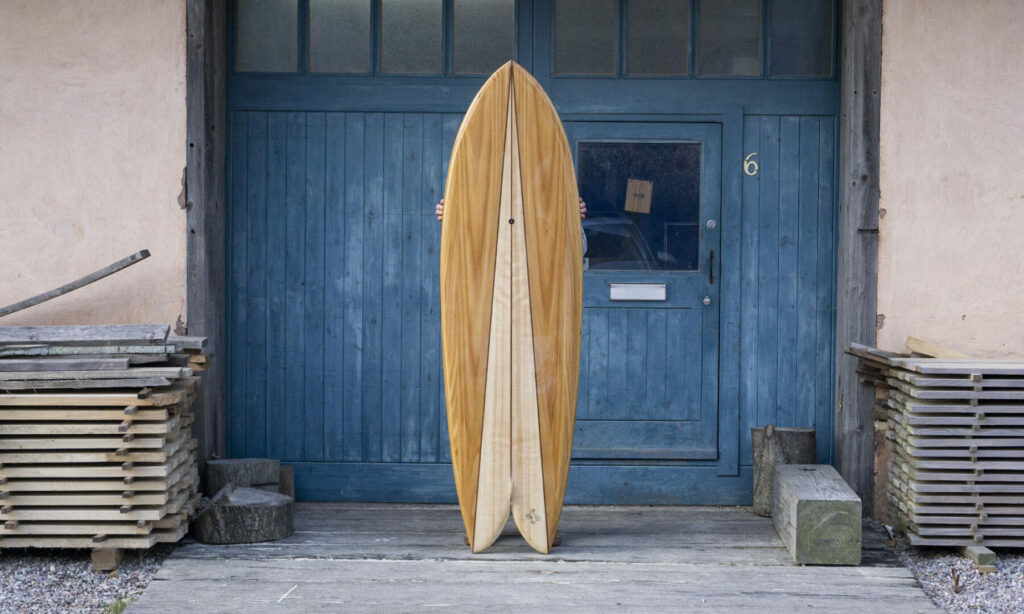
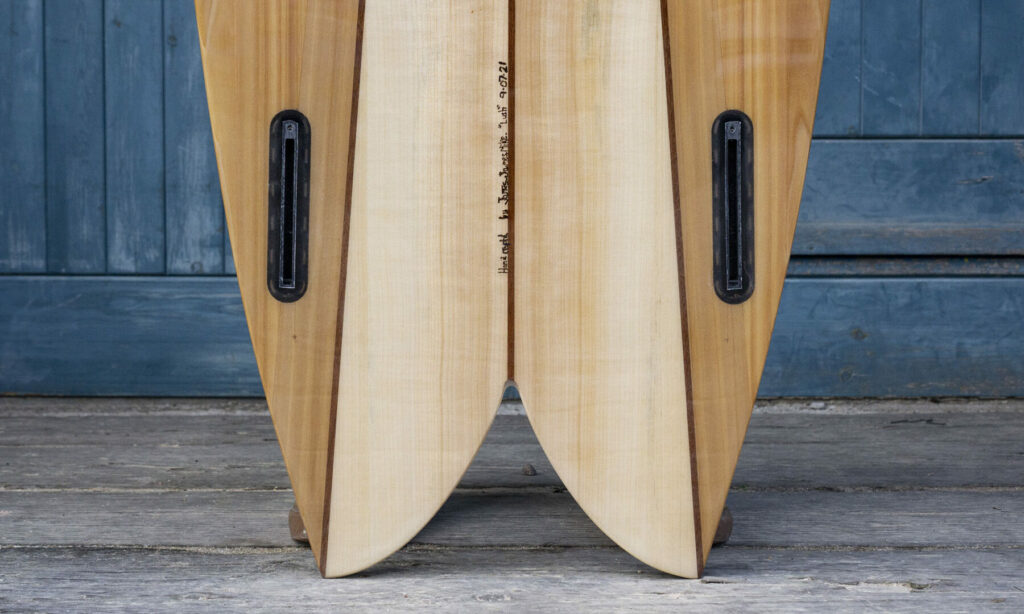
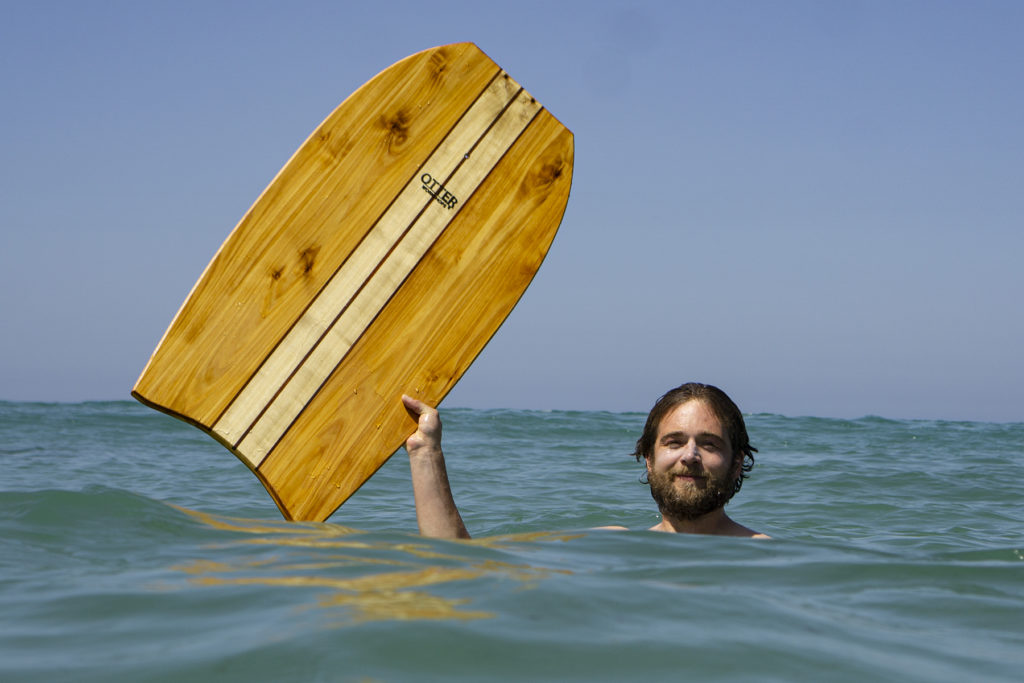
When booking the course, he asked us whether it would be possible to have one of our 6’4 Woodburner Fish models with three dark stringers that go from the center of the tail and the two tips of the tail, that all converge at the tip of the nose. Creating two triangles that reflect along the centre line of the board. His inspiration was from some classic 80’s surfboard spray designs and our James thought it would be pretty special to find a way to make this happen out of wood.

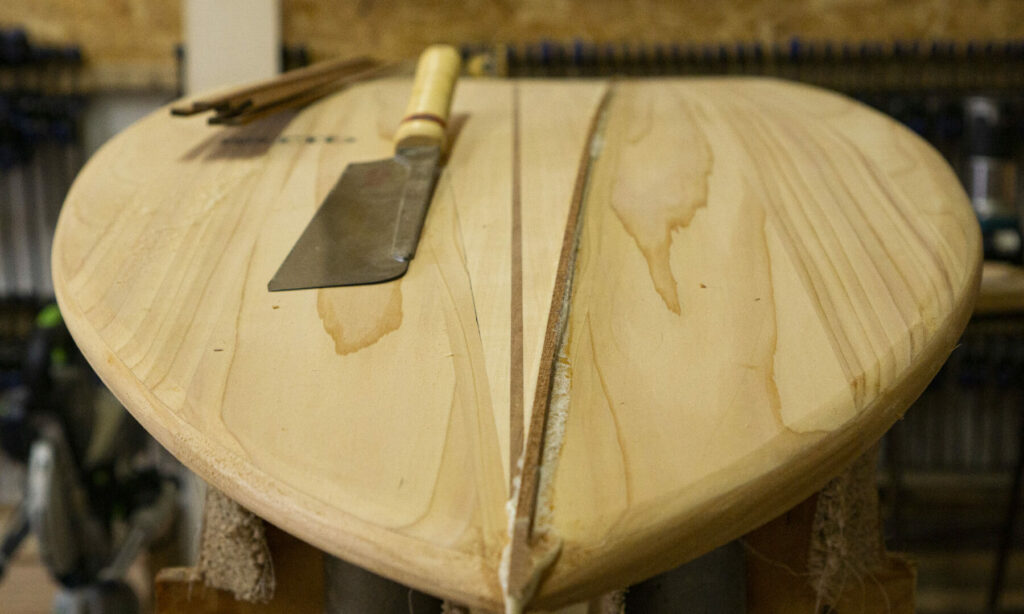
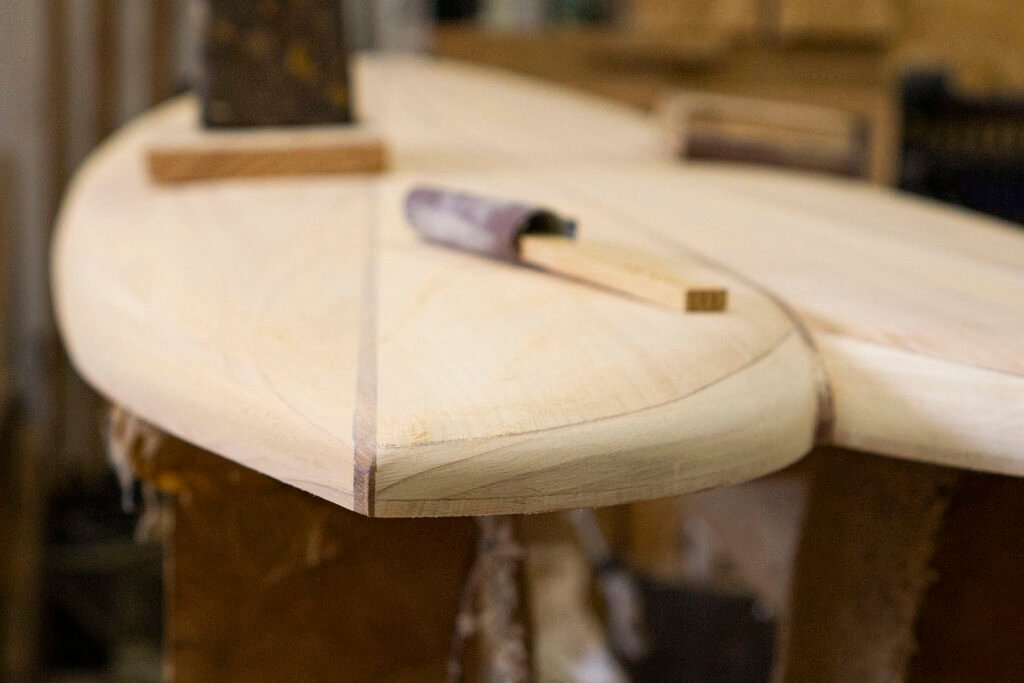
We also had the idea to use all poplar (our pale timber) on the inside of the three dark stringers and all cedar (the orange-coloured timber) outside of it to add contrast and accentuate the design.

Initially, the idea seemed quite simple, until we realised what we’d actually need to do to make it a success.

Firstly, our surfboards have a degree of creativity in the shaping, so even though we could take some measurements from the Woodburner we have in the workshop (Ally’s everyday board), there was every chance that the tail tips, or nose tip, may not finish in exactly the same place.

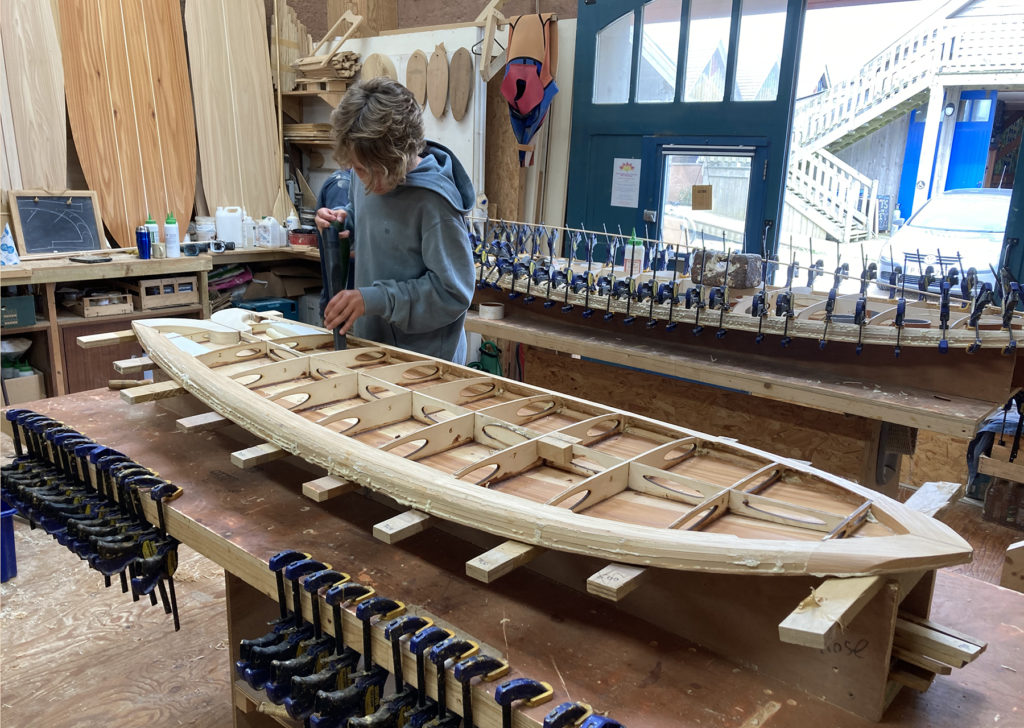
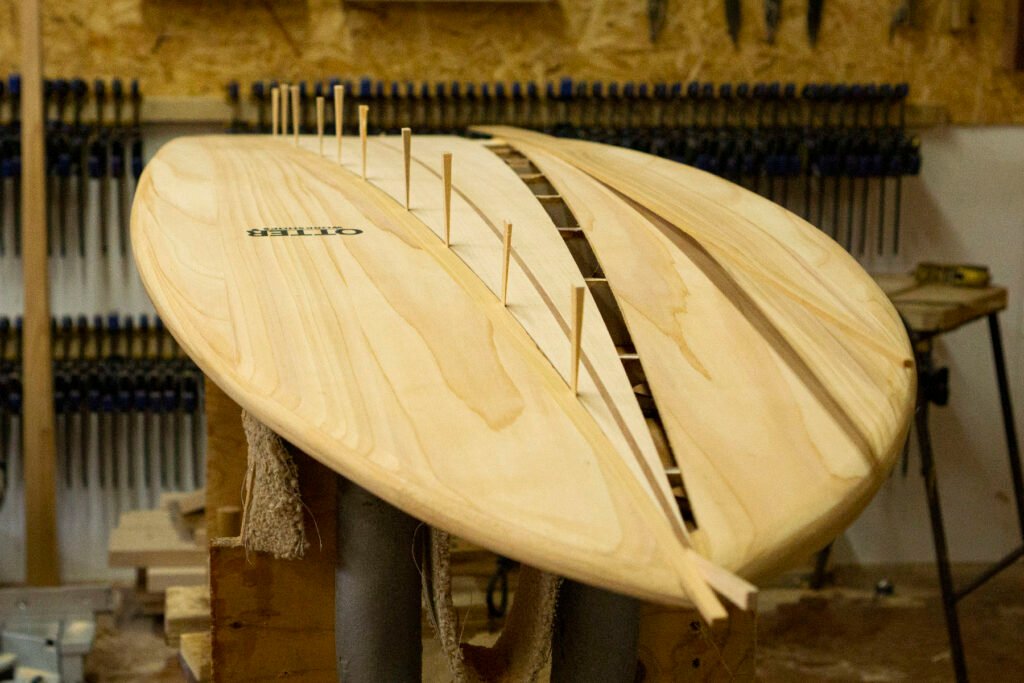
Then we realised that because we normally make the ‘skins’ of our surfboards before glueing the internal frame down, we’d need to know exactly where to place the frame onto our pre-made skin for all the lines to meet at the necessary points.

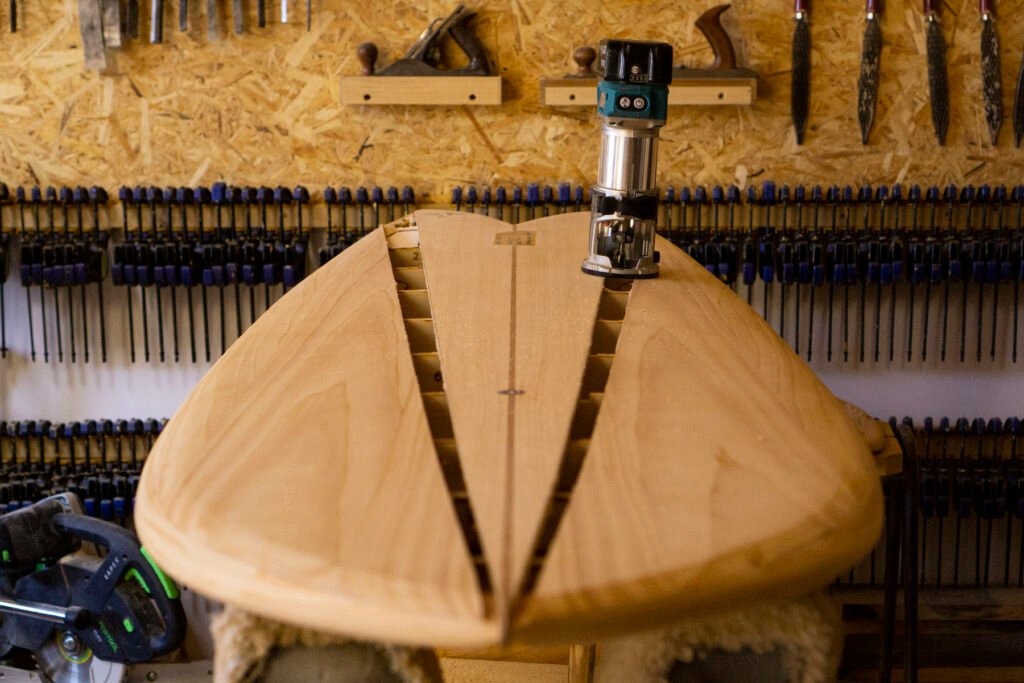
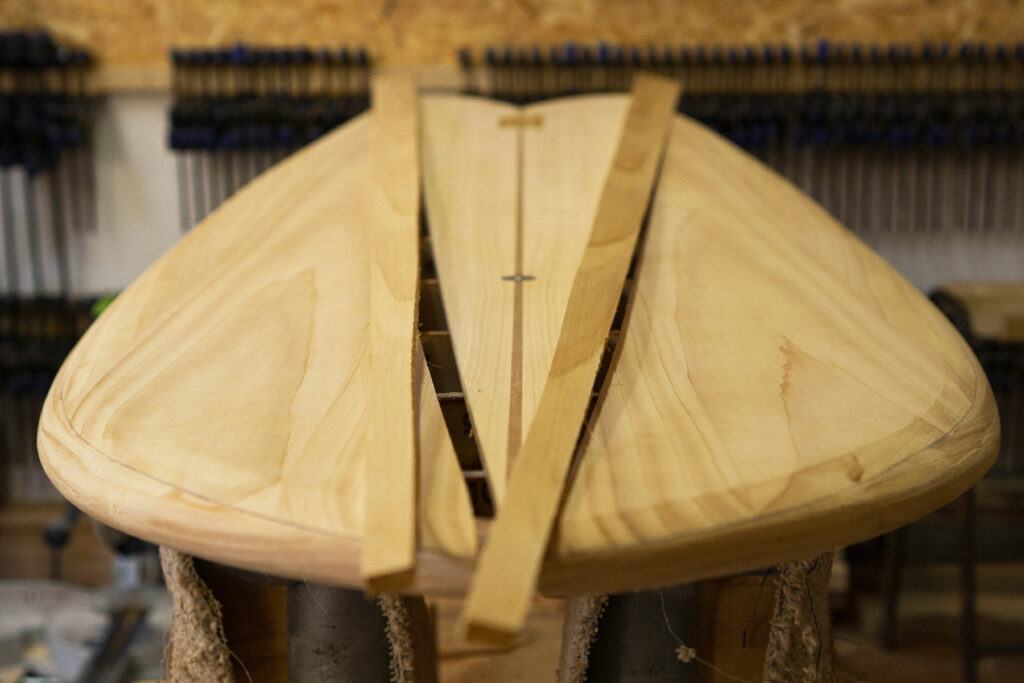
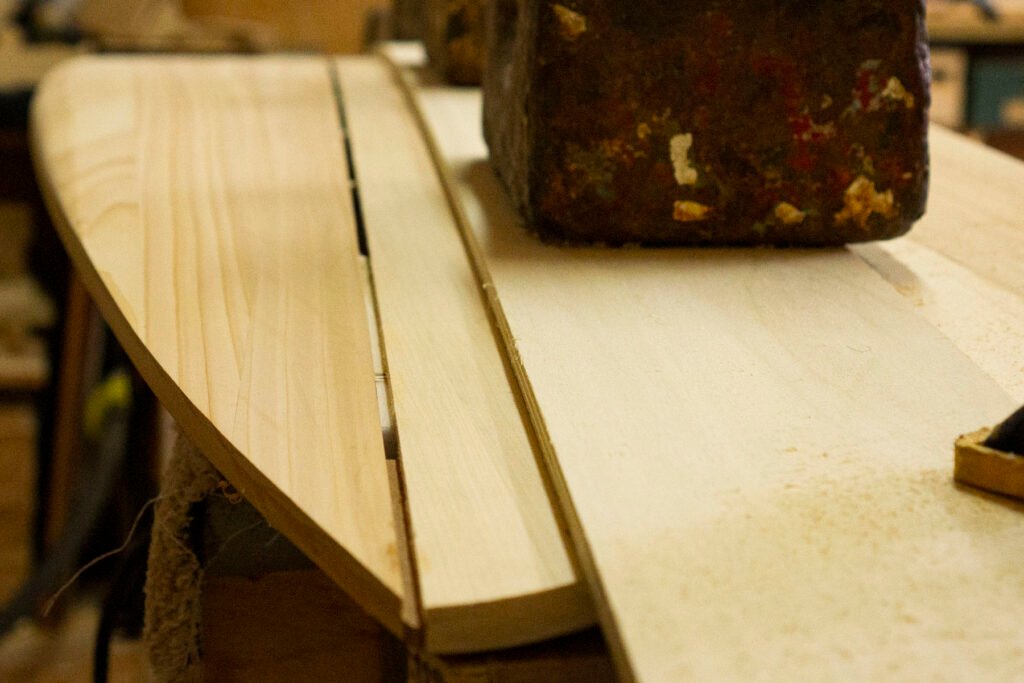
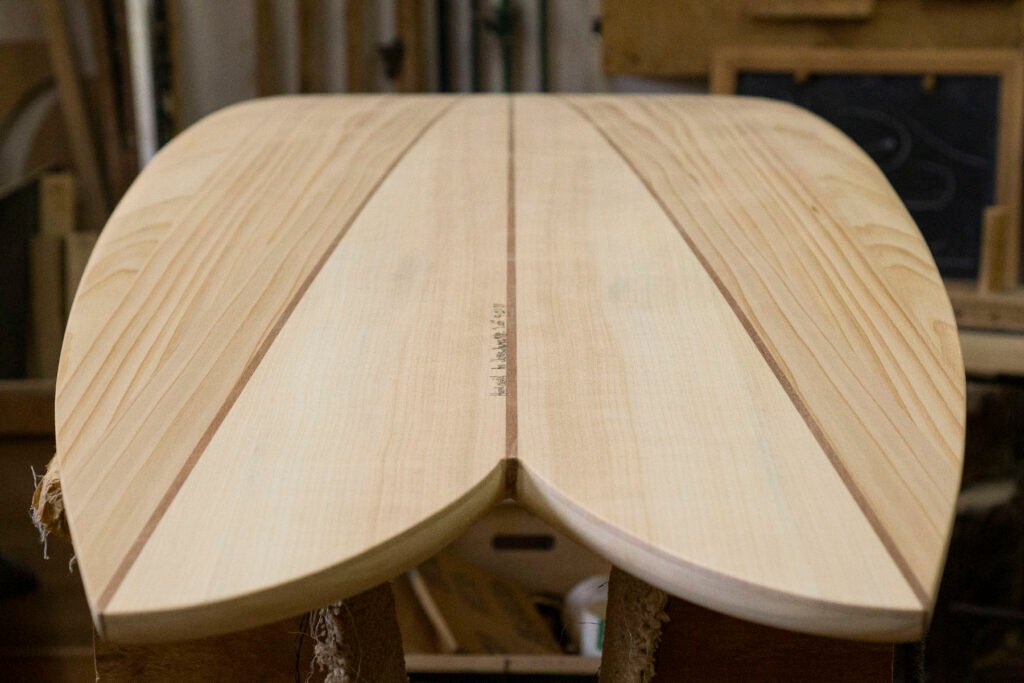
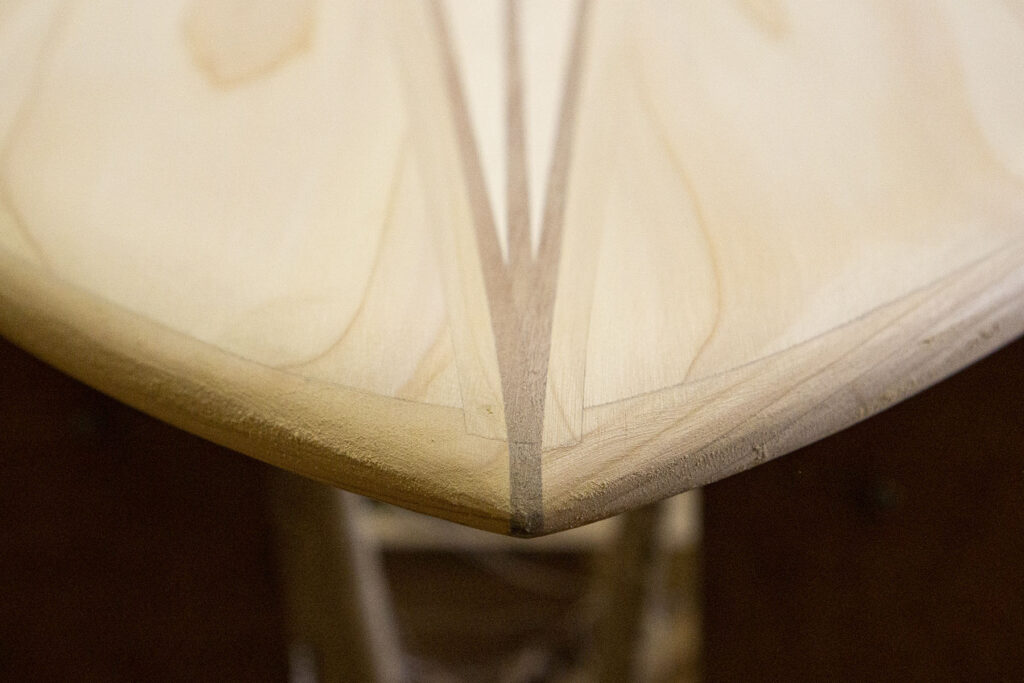
To overcome this, James decided that it may actually be easier to make the skins without the two angled dark stringers, thinking that then, when the board was made, we could route 5mm slots running from the tips of the tail up to the nose to lay the dark stringers into, to ensure they were in exactly the right place. A scary thing to do with the finished board, but it would give us a little bit of tolerance when it came to the shaping of the nose and tail of the board too.

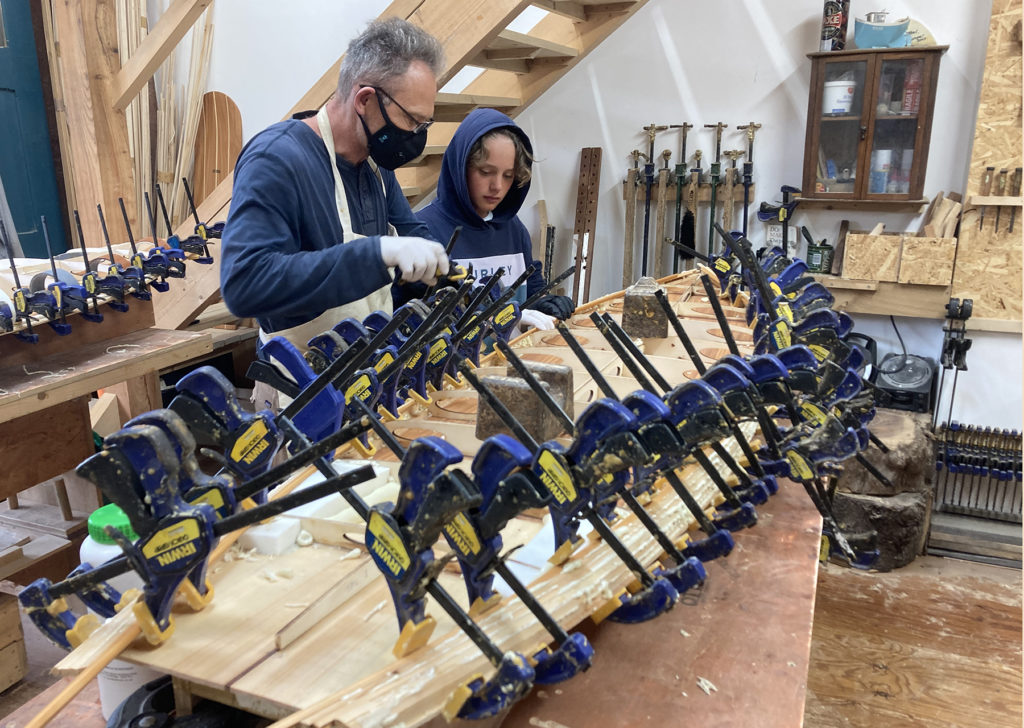
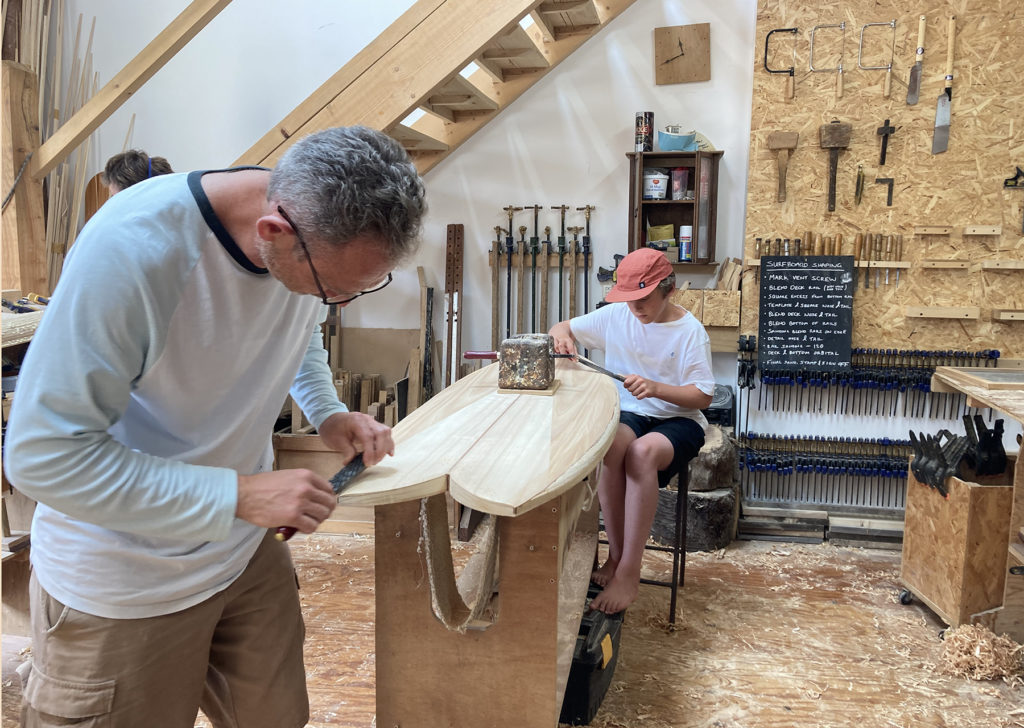
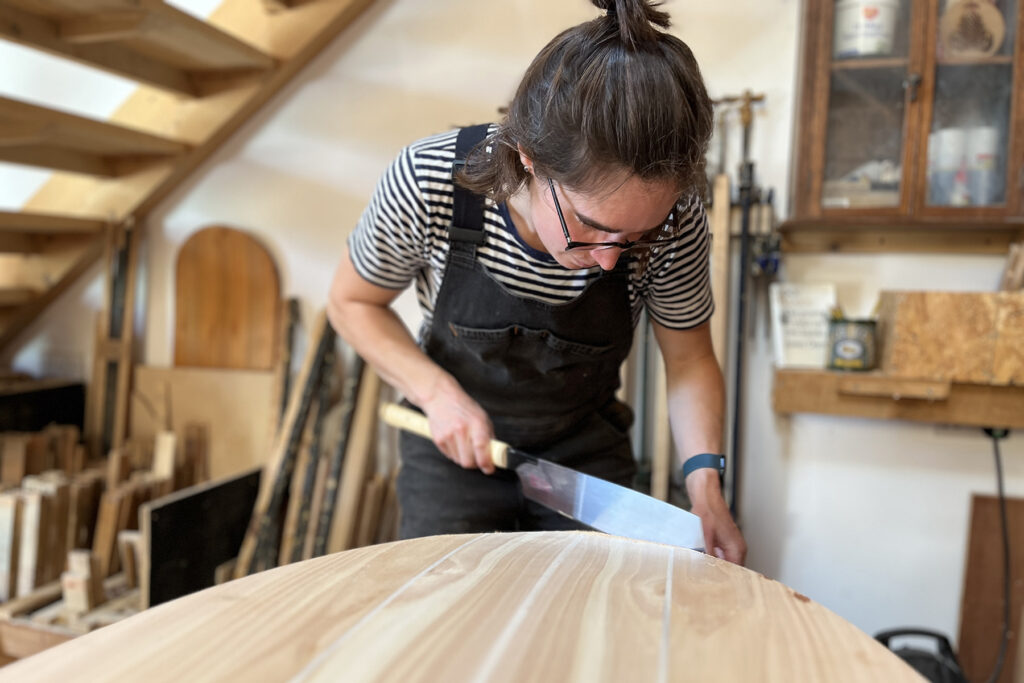
So, we set about making the skins before Mike and James joined us in the workshop.

Remember that mantra, “Measure Twice, Cut Once”? Yep, the one we have written on the workshop walls?

Well, at the crucial moment, when measuring Ally’s Woodburner, to give us the distance between the tips of the tail, we didn’t measure twice; we held the tape measure at 100mm (for accuracy) on one of the tail tips and measured across to the other one. Perfect, 400mm it was, forgetting to take the 100mm off of the total to give us the actual measurement of 300mm. Doh!

So, we went ahead and made the skins, using the measurement of 400mm between the tail tips, and it was only once we’d pieced the framework together on the first day of the workshop with Mike and James and laid it over the skin that we noticed how far out of line the angled join between the cedar and poplar were. We talked things through together and decided to forge ahead and make the board with the skins as they were and see how we all felt about it at the end of the week. It turned out to still be a unique and striking layup, so James and Mike were happy with it either way.

Our James wasn’t so happy though, having had the ideal outcome in his mind’s eye from the outset, so he was keen to work out how he could make amends and get the board looking how he and Mike had originally intended.

Firstly, he needed to remove the poplar on the skins that was oversized and replace it with cedar. So, he took our small palm router out and lined up a straight edge of plywood to follow along the board, cutting into the poplar to take out the excess on either side of each skin.

This left him with four triangular holes running the length of the board, either side of the board and top and bottom of the board. In fact, you could now see through the board, which was a scary place to be….let’s hope this works!!

The next thing to do was to cut some triangular pieces of cedar that were the necessary thickness for the top and bottom skins that could be put back into the gaping holes. The cedar to cedar join needed to be spot on, but the cedar to poplar join had a little play, because this is where the extra 5mm dark stringers were going to sit, so he used some small wedges to apply pressure across from one side to the other.

Below you can see the routing setup, the triangular pieces of cedar cut and ready to be fitted and the wedges used to fix them in place.

Once all four of those cedar triangles were fixed in place, James had to get the router out again. Now, with a 5mm router piece, he needed to get the lines from nose to tail tips absolutely spot on.  When originally making the board, we slipped a dark strip in the tail between the tail blocks and the rail strips, so he had something to aim for (and line up with) at the tail. So, it was a case of measuring four or five, or six or seven times, knowing that there was only one chance to make this cut and that it needed to be repeated twice on the top and the bottom. It was about as intense a moment as we ever have here in the workshop! We all held our breath!

Thankfully, each cut went as planned and James was able to set the dark stringers into the slots to all meet at the nose and then spread out down the board to finish at the tips of the tail, top and bottom. Phew!!

Below, you can see the setup for routing the line for the dark stringer, the view at the tail, with the thin dark piece already set in the tail block and the first dark stringer glued in place.

Now it was just a case of cutting off the excess and shaping it back to the finished board. Much more familiar territory and a joyous process after such tense work.

Then the board needed its finish applied by the wonderful Paul Fluin. We were so excited to see how the resin would make all the colours ‘pop’ and it didn’t disappoint!

We were so happy with how it turned out and with how those dark strips really set off the contrast of the wood colours. The hard work really paid off!

The board is now back with Mike and James over in Guernsey and is being surfed and admired regularly. Thanks for letting us loose on this one chaps!

Your Basket

You don't currently have any products in your basket.