How To: Curly Christmas Wreath

10 . 12 . 16

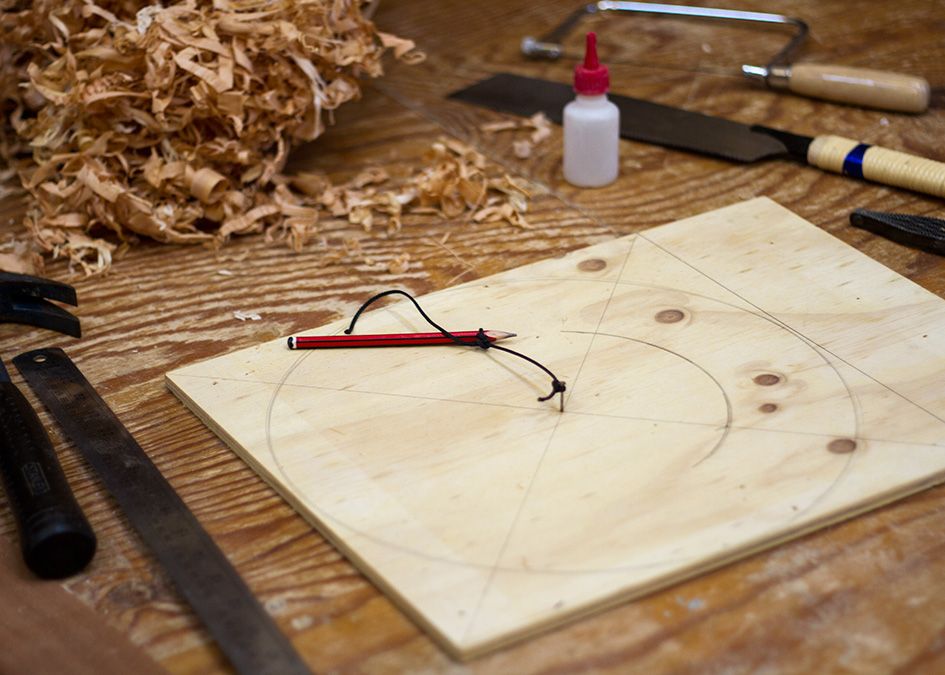
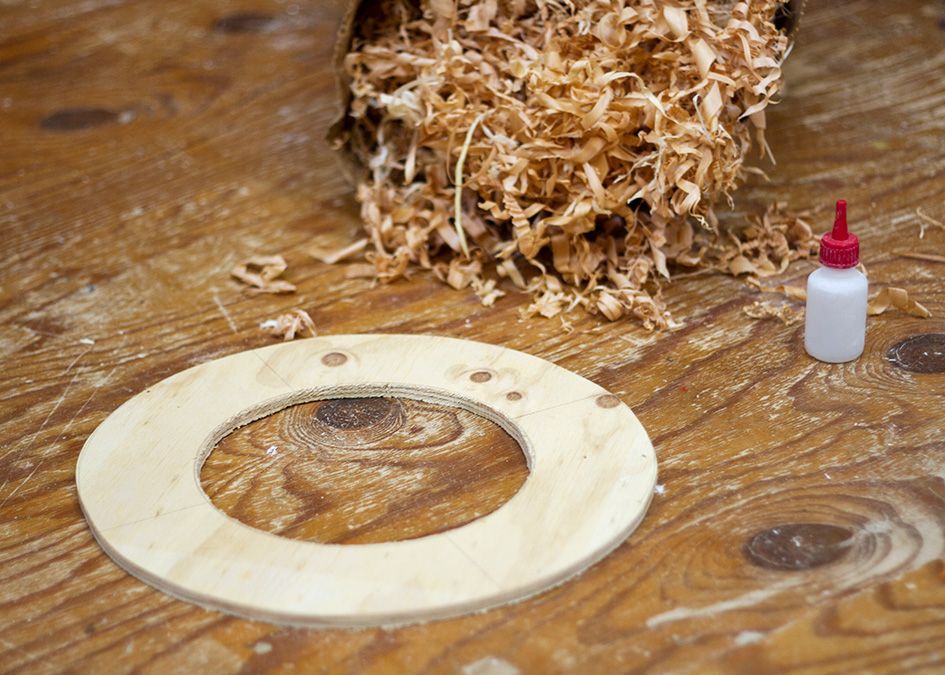
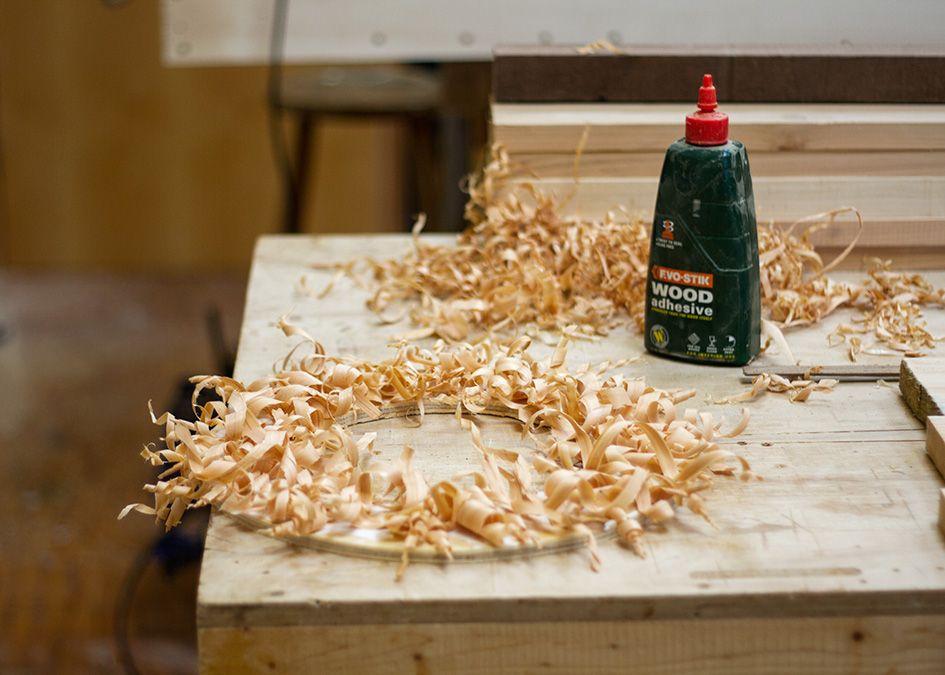
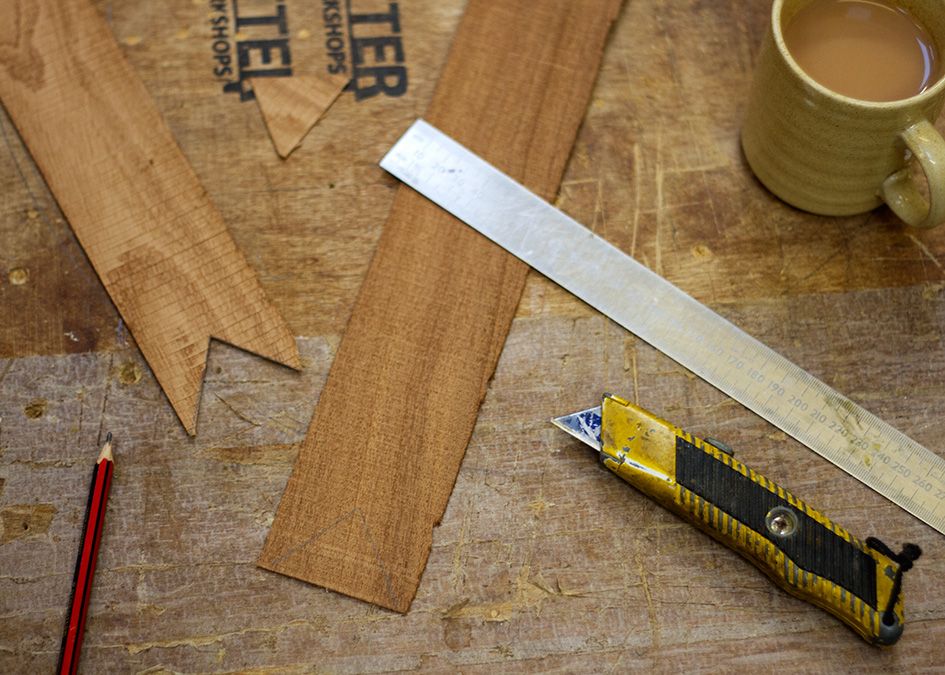
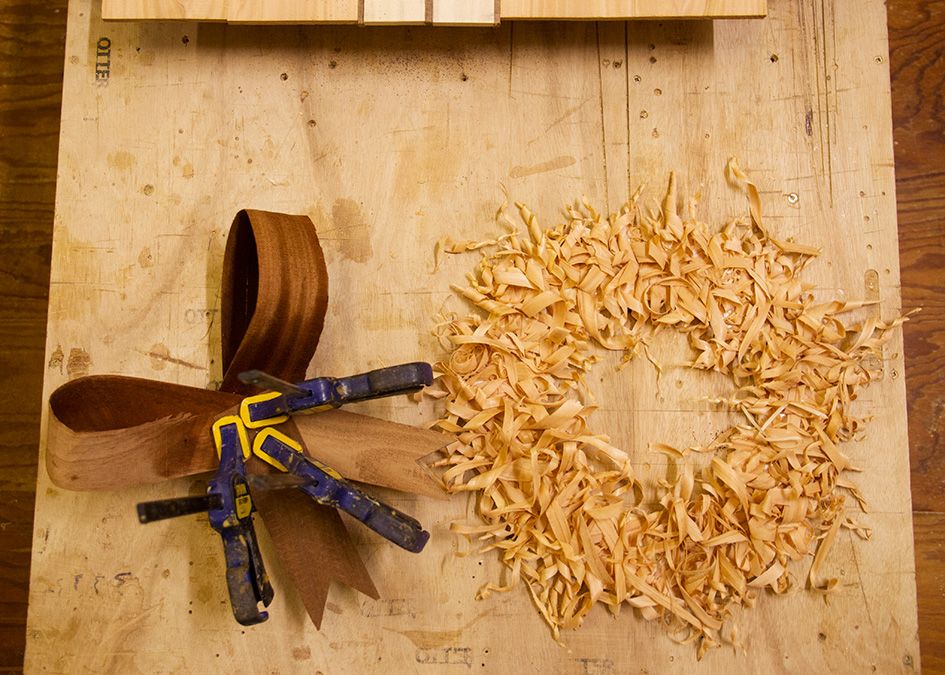
​We’ve never hung a Christmas wreath on the workshop doors here, but we thought that this year we ought to make an effort to get into the festive spirit a little more. Not being ones to buy things that we can make, and with the workshop running full steam ahead in preparation for our December workshop, we decided to use our offcuts to spread a little festive cheer. Fancy fashioning a similar decoration for your front door? Here’s how we did it:

Find a suitably sized piece of scrap plywood. Measure the shortest dimension and use that to measure and cut the scrap piece into a square (tip: you can use the leading edge of a traditional saw handle and the back of the blade as a tri-square).

Draw diagonal lines from corner to corner to find the centre point, and knock a panel pin part-way in. Tie a piece of string to the panel pin, with the other end tied to your pencil at the correct length to allow it to draw a circle around the panel pin that touches the edges of the square. Shorten the string, and repeat, so that you’ve drawn a ring.

Cut out the outside circle. Drill a hole on the inside line that is large enough to fit the blade of your coping saw blade through, and take your coping saw apart and reassemble it with the blade passing through the hole. Cut out the internal line, leaving you with a wooden ring.

Collect some wood shavings. This isn’t a problem for us here, but the easiest way to do it at home is to clamp a piece of solid timber in a vice or to the edge of your work bench and use a jack or block plane to make shavings – making an effort to keep them as curly as possible!

Cover one side of your plywood ring with PVA wood glue, and arrange your curly wood shavings (one at a time) around it, trying to orient them outwards from the centre.

Once you’ve got the first layer done, put some PVA glue in a pot and add a little water. Brush this over the wood shavings that make up your base layer, and arrange more shavings over the top, trying to fill in any gaps. Place a plastic bag over the wreath and put a piece of wood on top to weigh it all down a bit (the plastic bag will prevent the wood shavings from sticking to the piece of wood on top). Leave it to dry.

We made a “ribbon” using really thin slices of teak – the thin slices come off the bandsaw and can’t really be used for anything. We poured hot water from the kettle over the thin strips to soften them and bent them into two loops, holding them fast with a clamp until they dried enough to glue, before clamping again. We cut the “tails” using a Stanley blade (the teak is that thin) and then glued each layer together and clamped it until dry. This was screwed onto the wooden wreath ring.

* If you’re going to hang this outside then it’d be worth giving it as good a coat as you can manage of varnish (even dilute PVA will do), just to protect it from the wind and rain.

If your house has some serious Christmas crafting scheduled in over the next week or so, and you don’t fancy getting involved with the glitter and gold spray-paint, then a curly Christmas wreath will give you a good excuse to hide away for a few hours and emerge with your contribution to the seasonal decorations. Merry Christmas!

Your Basket

You don't currently have any products in your basket.